With Photopus, you can adds watermark text to hundreds of your photos at once. Watermarking on photos is very useful especially you are using it to protect your images from illegally copied or adding your personal comments to the photos.
There is no need to use a complex image editor software for adding watermark text to photos. Adding watermark text to one photo at a time is a labor-intensive, and it could be very time consuming. By using Photopus, you can add watermark text to hundreds of your photos with customizable font style, font size, font color in just 3 simple steps.
Step 1: Add Photos

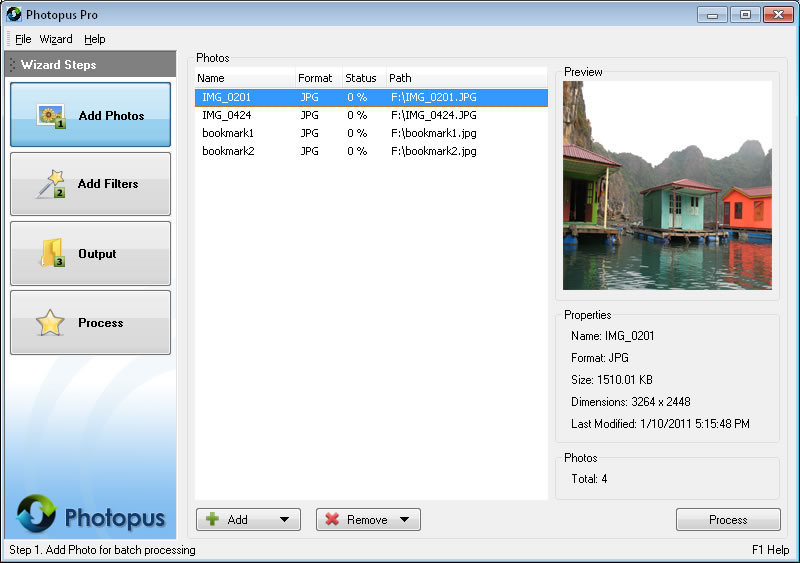
a. Click on Add button at the bottom and select Add Photo (s)
b. Select the photos that you would like to adds watermark text, comments
c. To remove photos from the batch processing, select the photos and click on Remove button at bottom and select Remove.
Step 2: Add Filters

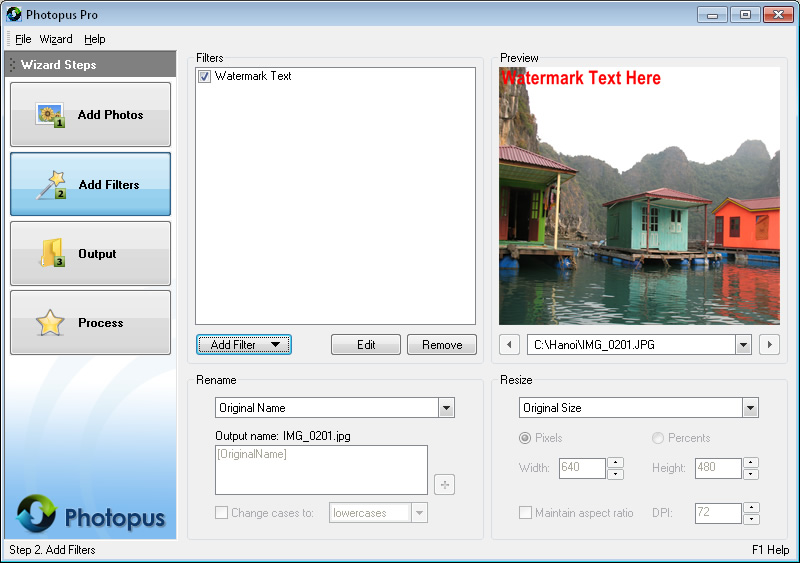
a. Click on Add Filter button, Annotate, and select Watermark Text.
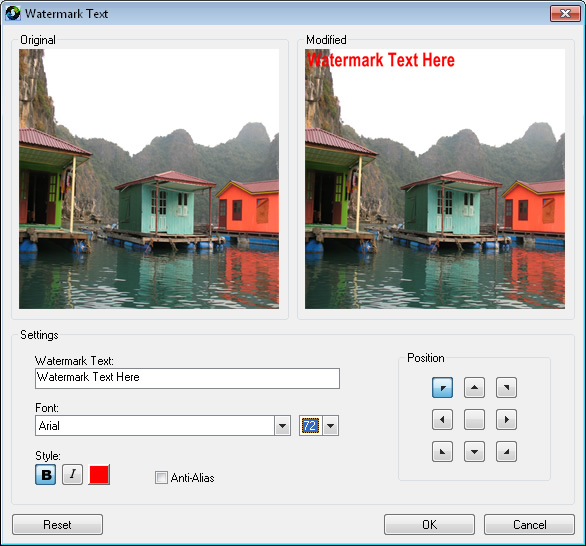
a. Watermark Text settings screen will be loaded and showing the preview before and after applying the filter.
b. Adjust the Watermark Text settings as you like and click on OK button to apply the annotate
Step 3. Output
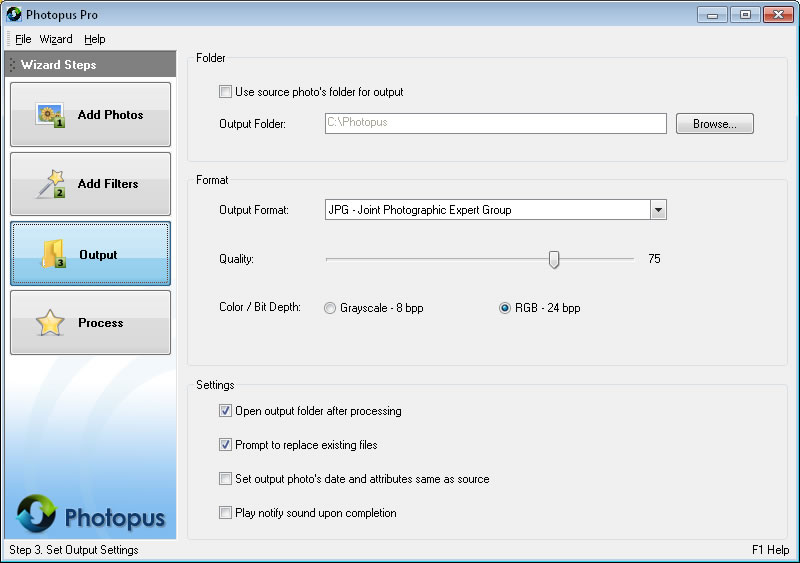
a.By default the output photos will be saved at C:\Photopus . To change the output location, click on Browse button and select a new location. To use the source photo's path as output, check the Use source photo's folder for output.
b. By default the output photo format will be JPEG. To change the output photo format, select a new output format from the combo box.
c. You may customized to have the output location folder opened after the processing; Prompt asking for overwriting existing photo file; Set theoutput photo meta information same as the source photo; Play notify sound upon completion.
Click on Process to start the processing.